
What is Agar?
If you’ve read through any article or discussion board about mushroom cultivation, you’ve probably come across the term “agar agar”, or “agar plate”. You might have identified it as a thing that mycelium can grow on, but what actually is it?
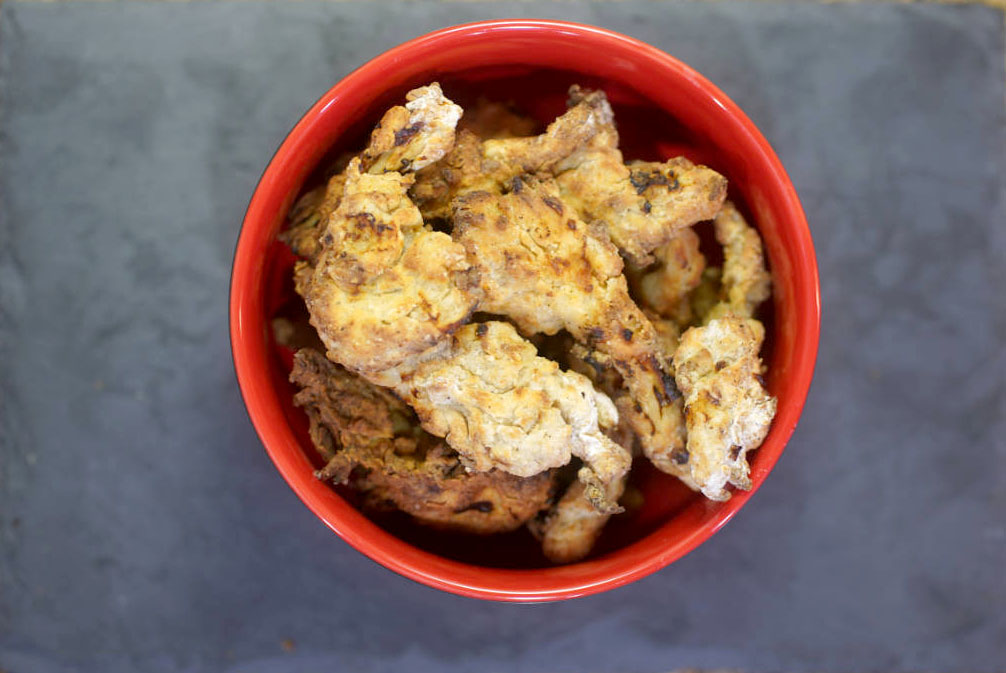
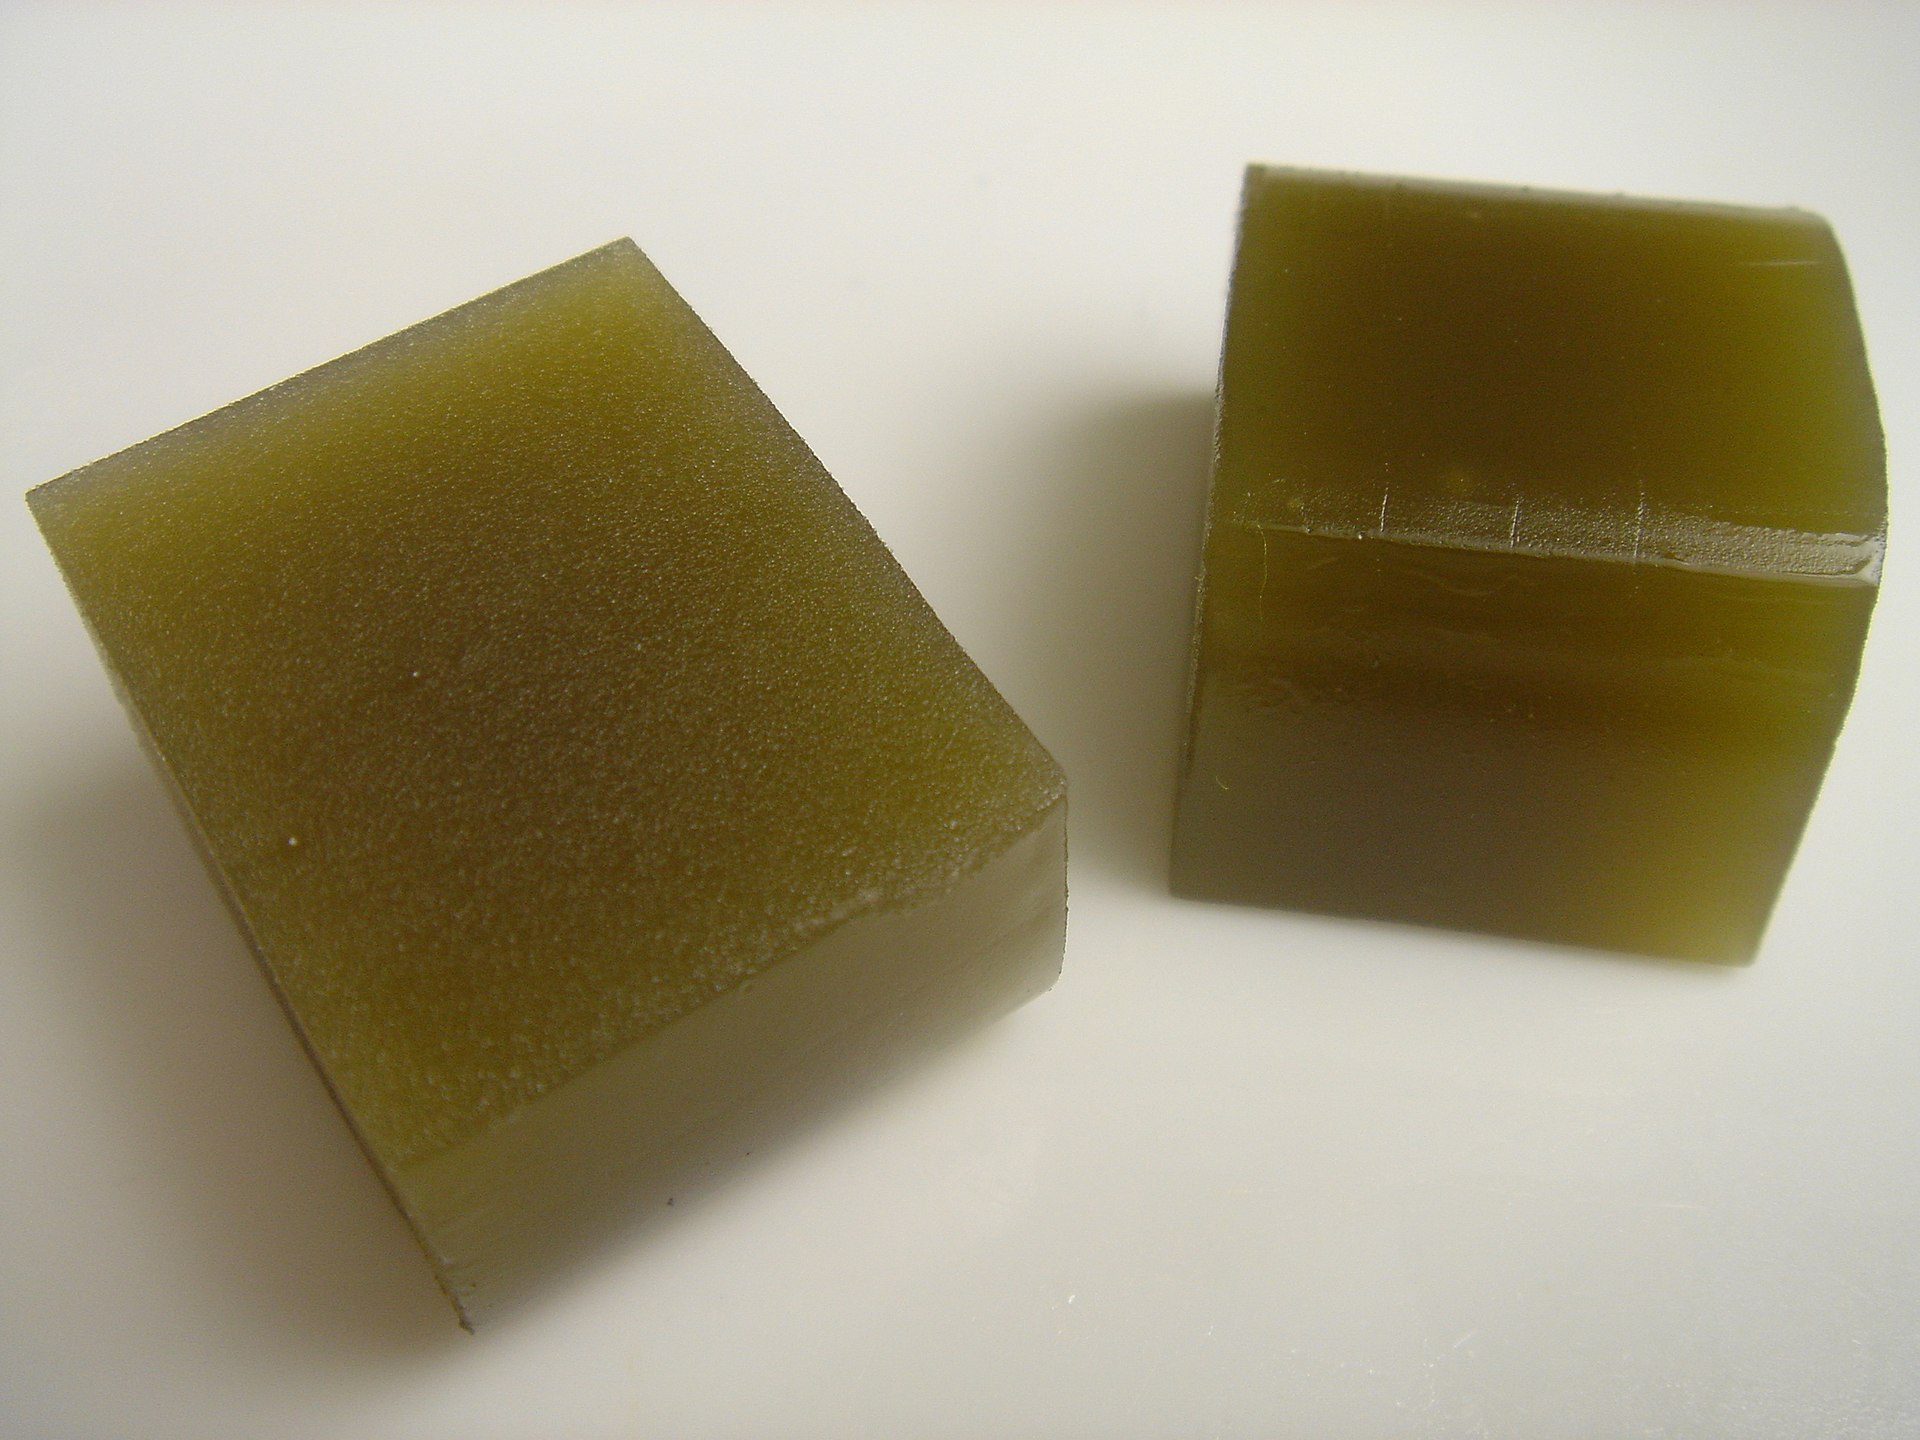 Japanese agar snack. Source: Wikipedia
Agar (also referred to as “agar agar”) is like a vegan gelatin. It’s made from algae and is sold as a powder that when mixed with water, hardens to a jelly like consistency. Asian jelly candies are commonly made from this ingredient, and its ability to turn liquids into a soft jelly like consistency also makes it an important component in general lab work and mycology.
Agar can be mixed with a sugar source, such as Light Malt Extract (LME) or honey, and poured into a glass or plastic plate under sterile conditions to produce an “agar plate”. This is commonly seen as petri dish with a thin layer of this solidified agar mixture at the bottom that microscopic organisms can be placed on top of to then spread across the surface of the plate.
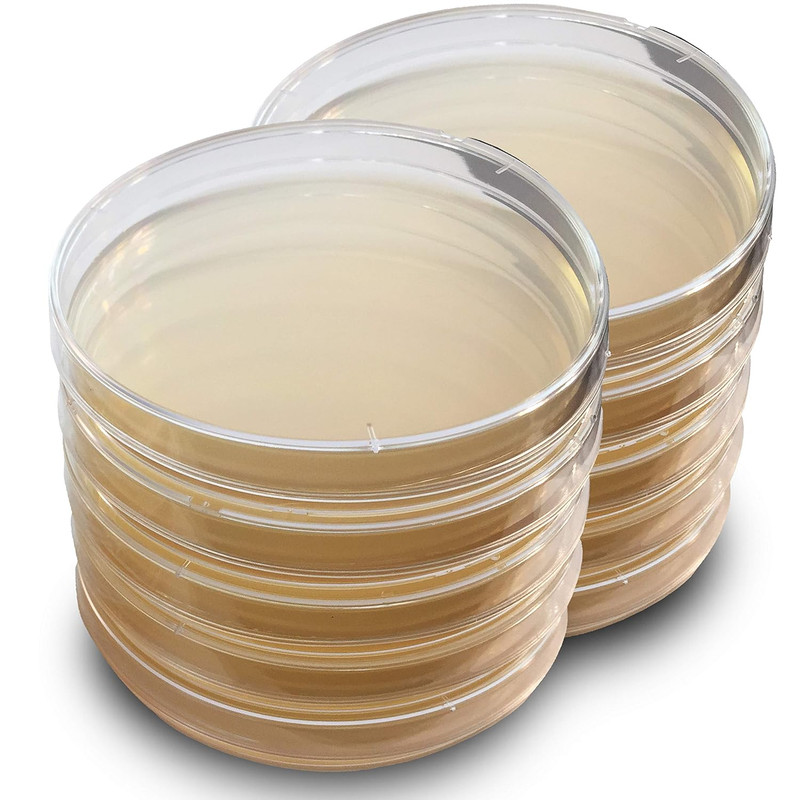
Example of some general purpose agar plates available for sale on Amazon
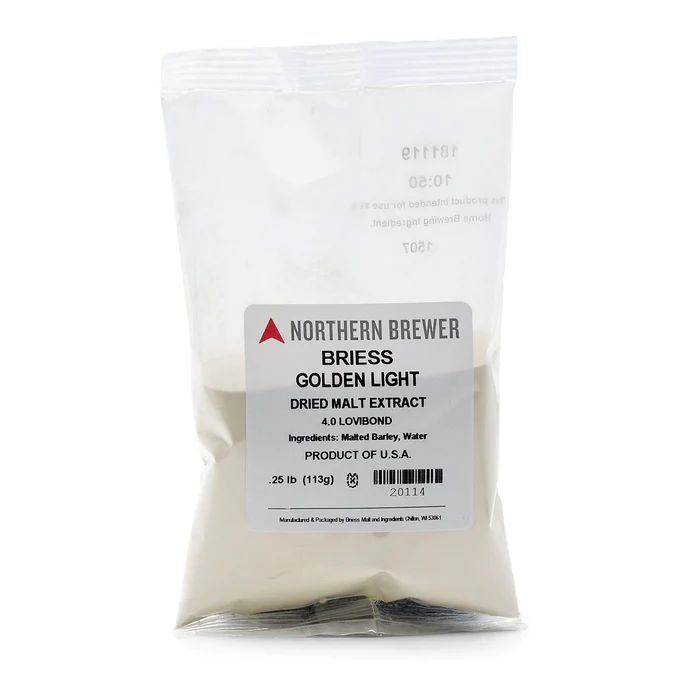
Example of Light Malt Extract (also referred to as Light DME for Dried Malt Extract). This product is from Northern Brewer but can be found online or at a local homebrew supply store.
Some fresh mushroom tissue, pure spores, a drop of spore syringe, or a drop of liquid culture can all be placed on an agar plate, which will colonize in a convenient disk shape that can cut into pieces and transferred to additional agar plates for further isolation, grain (such as an Ready Rice bag or prepared grain bag/tub) to produce spawn, or processed into syringes as liquid culture or liquid inoculant for storage.
Specimens can be continuously transferred from agar plate to agar plate (take a chunk out of the colonized plate and place it onto a fresh plate) to increase the amount of that specific mycelium, to isolate a particular mycelium phenotype (same species, different “seed”), or isolate a clean specimen from a dirty spore print or mycelium source.
 Various cultures being grown on agar. Source: Wikipedia
Wait, what is liquid inoculant? Is that like liquid culture?
Kinda. It’s similar in the sense that it’s live mycelium in a syringe that you can inoculate substrate with. Mycologists, professional and amateur alike, were already placing wedges or cut up pieces of colonized agar plates into clean prepared grain for the mycelium to spread to. People eventually figured out you could break up the agar plate and mix it into a slurry of water so it could be injected into the substrate via syringe (as you would liquid culture). The slurry has a larger surface area than a solid wedge, allowing maximum contact between the live mycelium and the substrate to be colonized.
So liquid culture is mycelium growing in a liquid sugar solution. Liquid inoculant is broken up colonized agar (with mycelium on it) suspended in water. A syringe filled with either solution can be injected into substrate or be stored long term in the refrigerator.
We’ll make dedicated posts on making agar plates, liquid culture, and liquid inoculant, so stay tuned!
I’d like to try making agar plates and/or some jelly treats. Where can I get agar?
Agar can be found online or at an Asian supermarket. Depending on where you’re located, you may have a Chinese, Korean, Thai, or Vietnamese supermarket around. They will often sell this agar (Telephone brand, see picture below) in a plastic pouch for a dollar or two.
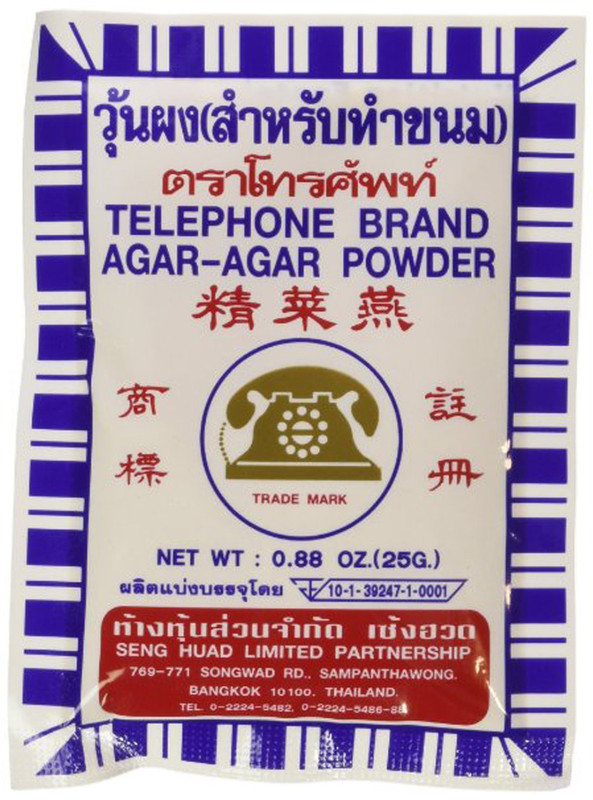
Picture taken from Amazon random listing
This, combined with Light Malt Extract (found online or local beer brewing supply stores) and mixed with water, sterilized, and then allowed to cool will produce high quality agar plates.
The basic ratio for this mixture to pour into a plate is 100ml water, 2 grams agar powder, 3 grams LME. Mixing this exact recipe will result in between 2-4 agar plates, depending on how large the plates are (usually 2”-3” diameter and about 1/4” thick).
Combine the mixture with warm water, mix thoroughly until powders are completely dissolved and mixture is homogenous, pour into each agar plate, then pressure the entire batch of freshly poured agar plates. When the cycle has completed and the cooker has cooled, the plates should be solid and ready for use.
This process will be explored in detail in a separate dedicated blog post.


